Difference between revisions of "Template Modification Tutorial"
| Line 51: | Line 51: | ||
<p>you can view the full list of [[PushMail Tags|tags]].</p> | <p>you can view the full list of [[PushMail Tags|tags]].</p> | ||
| + | |||
| + | == Modifying Templates in ‘Campaigns’ == | ||
| + | |||
| + | <p>Click on Campaigns > Campaigns and create a new campaign. At template stage, choose the template you imported into ‘Gallery’. We will begin by editing some of the text as completed in the Templates area.</p> | ||
| + | <p>Replacing text in the WYSIWYG editor is almost as simple as using Word, Notepad or any other text editor with some of the same features of the icons to use. In the modification below, the text has been replaced except for the image titles. NOTE: It is highly recommended during your editing, that you save your template periodically by clicking on the ‘Save template changes’ button below the editor window. You will remain on the page after | ||
| + | saving. This will prevent any browser freeze up from losing your work.</p> | ||
| + | <p>next we will add or replace images in our template but before showing how to add/modify images, the ‘trick’ is to appropriately present your images in the correct width- height that is visually presentable. There are a number of ways to modify the size of your images in a template:</p> | ||
| + | *Crop the image to the size you wish prior to uploading | ||
| + | *After uploading, and before inserting, change the image size in the Image Properties box | ||
| + | *After inserting, highlight the image and grab a corner or side anchor and drag to change size | ||
| + | *After inserting, highlight the image, right click on the image and click on Image Properties | ||
| + | *If you know html code, change the size in the Source html code | ||
| + | |||
| + | <p>If you do not have a fully featured image program such as Photoshop there are downloadable programs just for image resizing – [https://imageresizer.codeplex.com/ Image Resizer for Windows] and [http://www.obviousidea.com/windows-software/light-image-resizer/ Light Image Resizer] also a popular online image resizer is [http://www.webresizer.com/resizer/ Web Resizer]</p> | ||
| + | |||
| + | <p>If you want a well-designed program at no cost, the [https://www.gimp.org/ Gimp Image Manipulation] Program should do everything you | ||
| + | need for applying your images to templates.</p> | ||
| + | <p>'''Note:''' NOTE – A word about image preparation, specifically shooting images and cropping. If you are going on location and shooting products such as real estate properties, boats, cars or other, the temptation is to zoom in and ‘crop’ your image in the lens. I strongly recommend taking a number of pictures with a large amount of space around the product. You’ll find it is much easier to resize/re-crop images at various sizes by having that extra space.</p> | ||
Revision as of 12:51, 16 August 2017
In the following template modification tutorial, the CKeditor will be used in the image examples displayed. Most of the examples will show the ‘WYSIWYG’ display setting, not the ‘Source’ (HTML) setting. As stated in the manual, there are a number of html tutorials available online and one very popular recommended one is at [1] if you have a desire to learn some html coding.
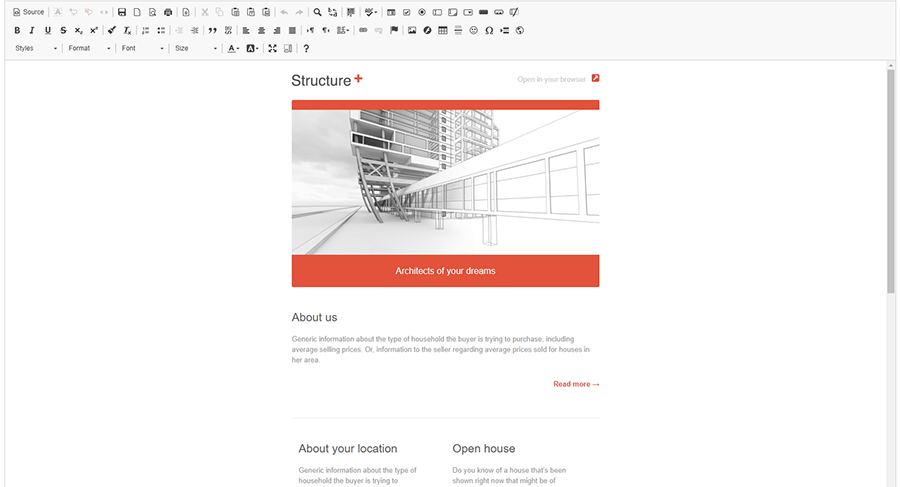
As a precursor, we will quickly show you the difference between the WYSIWYG display and the Source display. The WYSIWYG display visually shows the template as one receiving it by email or viewing it in a web browser:
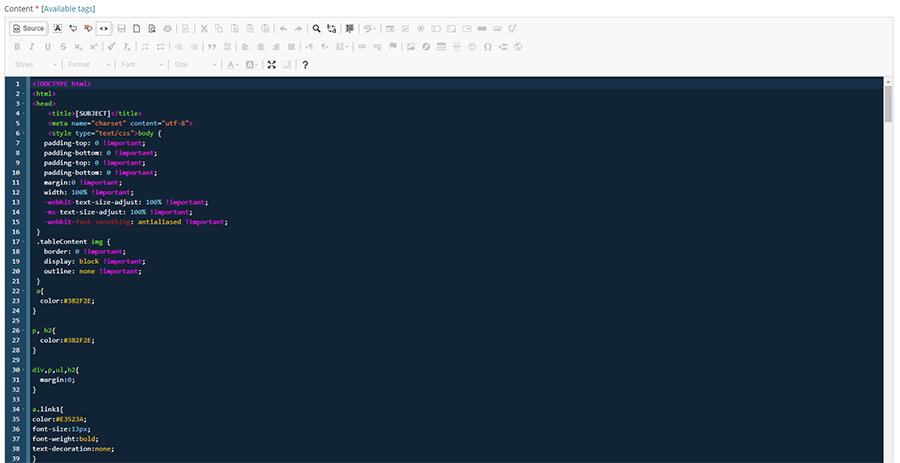
The Source display (by clicking on the ‘Source’ button in the upper left icon area) visually shows the template in the html coding behind the page. This coding normally includes tables, cells, image/website links, CSS styling and content text:
For the most part, this tutorial will discuss template modifications in the WYSISWYG display setting.
NOTE – the following modifications of a template can be done in either the Templates or Campaigns area. This wiki is two-fold, to show you how to modify templates and to show you why you would use one area or the other to make those modifications.
There are two reasons for modifying a template:
First, when you import a template into ‘Gallery’, you will want to make changes that you know will be used throughout all of your campaigns for that template. For example, a company logo that you will want displayed on every campaign. If you don’t make the change here, then every time you go to create a new campaign with the template, you will have to add the logo.
Second, when you create a new campaign, there will always be something you want to possibly add/delete or modify. For example, if you are a real estate agent and have a new listing, you will want to add new text content about that newly listed property and pictures.
Contents
Modifying Templates in Email Templates > Templates
Click on Email Templates > Templates, this takes you to the ‘Email Templates’ page and the template you imported from the Gallery.
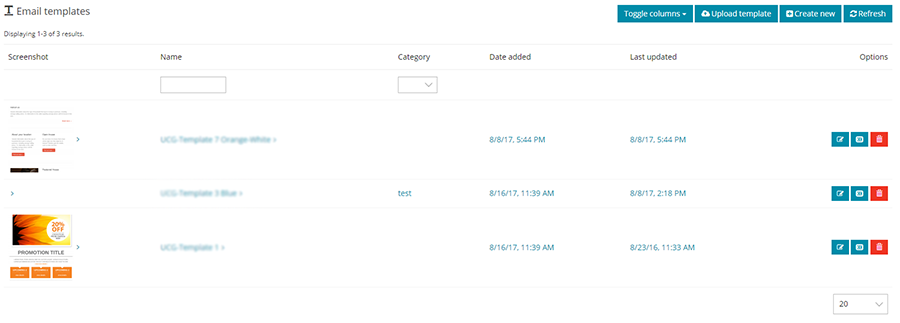
Click the ‘Update’ button to open up the template in the CKeditor.
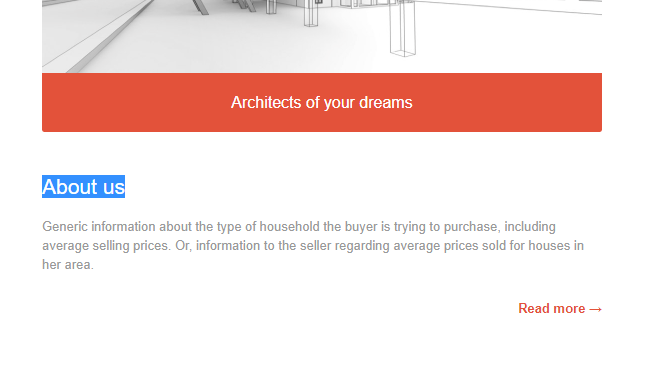
Here were going to make a simple text edit. Use your cursor and highlight ‘About us’ and then just type in the title you want. Once you click save, this saves the template so that your name will now appear every time you choose this template for a campaign
The next feature to introduce are the use of ‘dynamic tags’. Dynamic tags serves two roles:
Tags For Email Content Personalization
By inserting information you already have about your contacts in your lists into your email send. For example, if you have a column header of your subscribers first names titled FNAME, you can start a campaign with a personal “Dear [FNAME],”.
If the first row of your list has the first name “Lisa”, she would open her email from you and it would begin with “Dear Lisa,”. NOTE: You must make sure that your List column names match the tag names or the receipt of your email will read “Dear ,”. Thus every one of your List contacts would receive an email with their first name included.
To extend the use of dynamic tags, if your List has a column with a reason for their contacting you, (ex.Looking to buy or sell their property titled CONTACT_REASON) and another column with a type of property titled PROPERTY_TYPE), you can send an autoresponse email, with an email personalized even further, as in the following example:
Dear [FNAME], thank you for your inquiry concerning [CONTACT_REASON] your [PROPERTY_TYPE].
The output they would see upon receipt:
Dear Lisa, thank you for your inquiry concerning selling your condo.
Tags For Replace Key Information
Tags also offer an easier way to make changes to all of your templates simply by replacing key information with a tag. For example, if your name is ‘Elizabeth Jones’ in your Account Profile, instead of typing in “Elizabeth Jones” in all of your templates, you can add the tag, [LIST_FROM_NAME]. The tag will pull in your first and last name.
The great thing about this is if you had 30, 50, 100 or more templates and they all needed your name changed, all that would be needed is to change your profile name, as an example, ‘Elizabeth’ changed to ‘Liz’ would change all templates! How convenient is that!
you can view the full list of tags.
Modifying Templates in ‘Campaigns’
Click on Campaigns > Campaigns and create a new campaign. At template stage, choose the template you imported into ‘Gallery’. We will begin by editing some of the text as completed in the Templates area.
Replacing text in the WYSIWYG editor is almost as simple as using Word, Notepad or any other text editor with some of the same features of the icons to use. In the modification below, the text has been replaced except for the image titles. NOTE: It is highly recommended during your editing, that you save your template periodically by clicking on the ‘Save template changes’ button below the editor window. You will remain on the page after saving. This will prevent any browser freeze up from losing your work.
next we will add or replace images in our template but before showing how to add/modify images, the ‘trick’ is to appropriately present your images in the correct width- height that is visually presentable. There are a number of ways to modify the size of your images in a template:
- Crop the image to the size you wish prior to uploading
- After uploading, and before inserting, change the image size in the Image Properties box
- After inserting, highlight the image and grab a corner or side anchor and drag to change size
- After inserting, highlight the image, right click on the image and click on Image Properties
- If you know html code, change the size in the Source html code
If you do not have a fully featured image program such as Photoshop there are downloadable programs just for image resizing – Image Resizer for Windows and Light Image Resizer also a popular online image resizer is Web Resizer
If you want a well-designed program at no cost, the Gimp Image Manipulation Program should do everything you need for applying your images to templates.
Note: NOTE – A word about image preparation, specifically shooting images and cropping. If you are going on location and shooting products such as real estate properties, boats, cars or other, the temptation is to zoom in and ‘crop’ your image in the lens. I strongly recommend taking a number of pictures with a large amount of space around the product. You’ll find it is much easier to resize/re-crop images at various sizes by having that extra space.