Using SNIPER D.M.S as Local Drive
WebDav
Using webdav integration will allow fast uploading and it's easy and secure. Once a file is uploaded, it can be found directly in the system under the directory that the file have been uploaded to.
- Install Net Drive or any WebDav client agent.
- In the WebDav client, set the WebDav url to: http://yourdomain.com/webdav
- Use the system users credentials, username and password to access and list all user files and directories.
Drop Folder
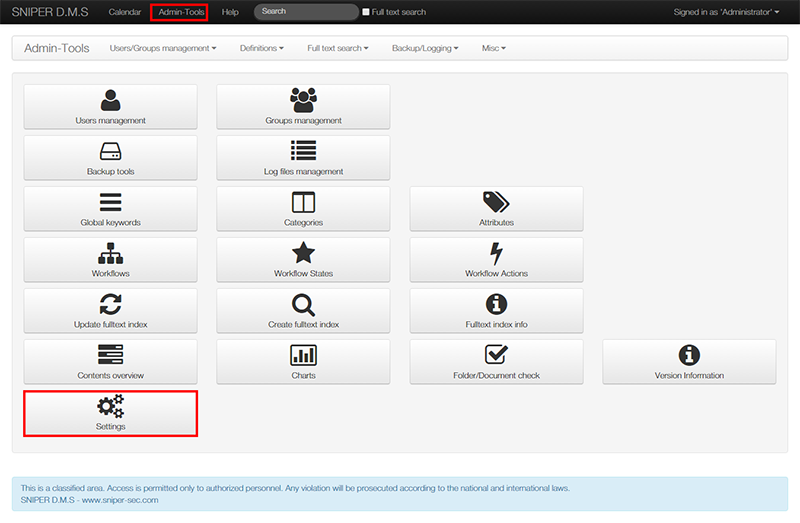
Each user can have his folder to quickly upload files instead of uploading them using the web interface. Go to the settings page from the admin-tools menu to read more about it.
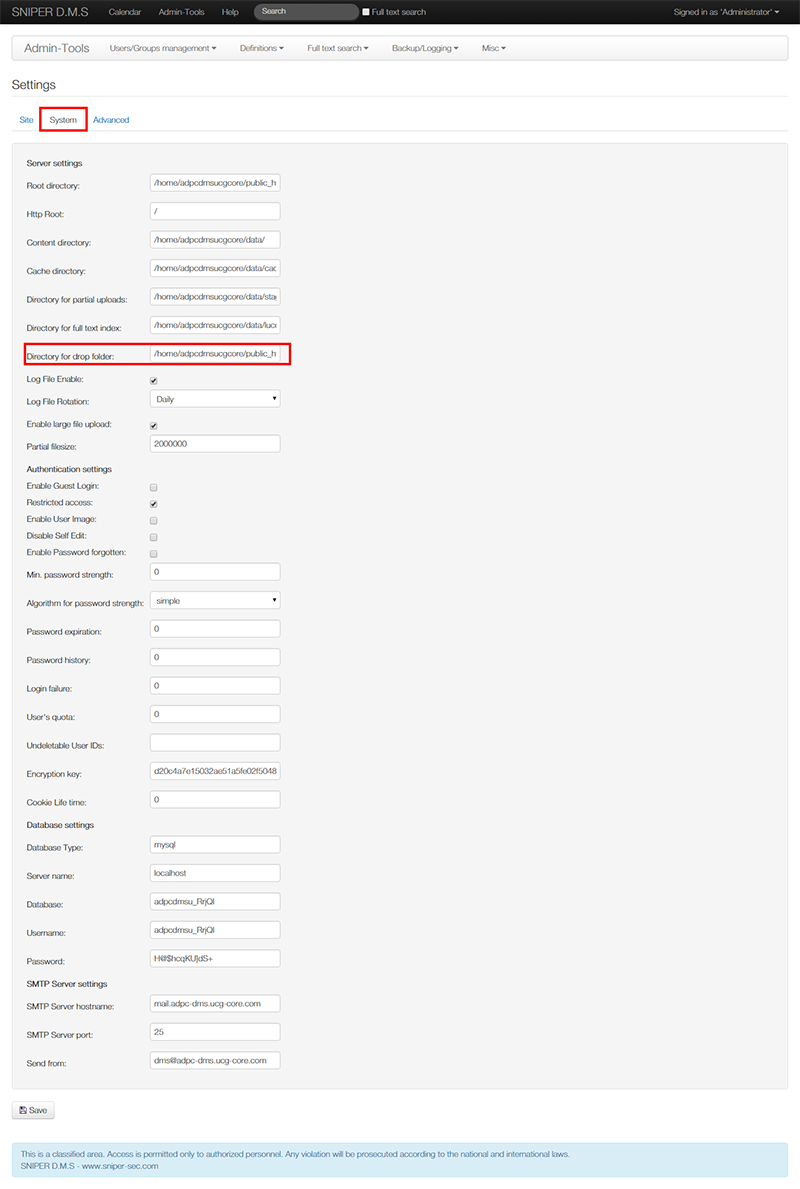
Directory for drop folder is located in the System tab. This directory is the main path for all user directories.
From admin-tools menu, navigate to Users management to get user id for the user whom this option will be activated for.
If you have access to your host panel you can follow instruction from: Create FTP Account / Web Disk or you can quickly create a folder inside directory for drop folder. The name of the folder should be exactly the same as the user id that we got from Users management section. Furthermore, contact your hosting provider for instructions on how to create folders. to Upload or create a folder using your Hosting Panel, please follow these instructions: File Manager
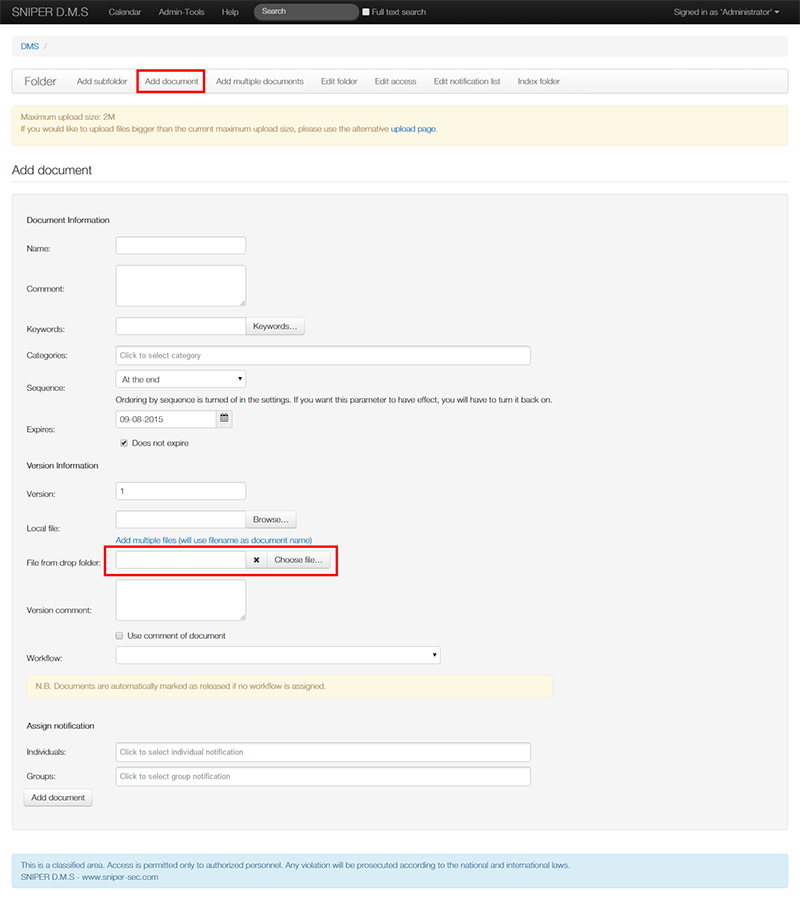
To attach files that have been uploaded to this folder go to Add Document and attach files using "File From Drop Folder".
For Ftp and WebDav you can use this client agent: Net Drive