Web Disk
Contents
Access Web Disk
- Login to cPanel and click the Web Disk icon.
- Scroll down and click the Access Web Disk button.
- Choose your operating system (the one you use on your personal computer) and click Go.
- A file to create the Web Disk will download to your computer and instructions will appear in cPanel to walk you through setting up the web disk on the selected OS.
Once the web disk is set up, you will be able to drag and drop files from your local drive to your website.
Accessing a Web Disk using Windows 8
To access a Web Disk using Windows 8, follow these steps:
- Start File Explorer, click Computer, and then click Add a network location. The Add Network Location Wizard appears.
- Click Next.
- Click Choose a custom network location, and then click Next.
- In the Internet or network address text box, type one of the following URLs:
- To connect to the Web Disk using an unencrypted (cleartext) connection, use the following URL:
- To connect to the Web Disk using an unencrypted (cleartext) connection, use the following URL:
http://example.com:2077
Replace example.com with your web site's domain name. Copy the modified URL, and then paste it into the text box.
- To connect to the Web Disk using an encrypted (SSL) connection, use the following URL:
- To connect to the Web Disk using an encrypted (SSL) connection, use the following URL:
https://example.com:2078
Replace example.com with the domain name that your web site uses for SSL connections. Copy the modified URL, and then paste it into the text box.
- Click Next.
- Type the username and password for the Web Disk account, and then click OK.
- If you want to the change the network place name, type the new name in the Type a name for this network location text box.
- Click Next.
- To access the Web Disk immediately, select the Open this network location when I click Finish check box.
- Click Finish. The Web Disk home directory appears. You can now access your Web Disk at any time by starting File Explorer and expanding the Network folder.
Accessing a Web Disk using Windows Vista or Windows 7
To access a Web Disk using Windows Vista or Windows 7, follow these steps:
- From the Desktop, click the Start menu, and then click Computer.
- Click Map Network Drive.
- Click Connect to a Web site that you can use to store your documents and pictures. The Add Network Location wizard appears.
- Click Next.
- Click Choose a custom network location, and then click Next.
- In the Internet or network address text box, type one of the following URLs:
- To connect to the Web Disk using an unencrypted (cleartext) connection, use the following URL:
http://example.com:2077 Replace example.com with your web site's domain name. Copy the modified URL, and then paste it into the text box.
- To connect to the Web Disk using an encrypted (SSL) connection, use the following URL:
https://example.com:2078 Replace example.com with the domain name that your web site uses for SSL connections. Copy the modified URL, and then paste it into the text box.
- Click Next.
- Type the username and password for the Web Disk account, and then click OK.
- If you want to the change the network place name, type the new name in the Type a name for this network location text box.
- Click Next.
- To access the Web Disk immediately, select the Open this network location when I click Finish check box.
- Click Finish. The Web Disk home directory appears. You can now access your Web Disk at any time by starting Windows Explorer and expanding the Network folder.
How to Connect to Web Disk on Your Mobile Device
Users who are not on a computer can still upload documents and pictures to their Web Disk directories through the Web Disk feature in cPanel. The free cPanel Web Disk app is available for both Android and iPhone devices.
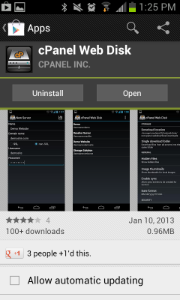
Download cPanel Web Disk for Android
On your Home screen, tap Play Store.
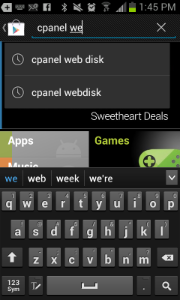
In the search bar, enter cPanel Web Disk.
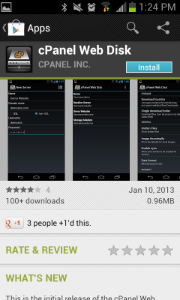
Tap Install for the cPanel Web Disk app.
If the interface prompts you, enter your Google account information, and then tap Accept and Download.
Tap Open to run the cPanel Web Disk app.
Connect through your Android Phone
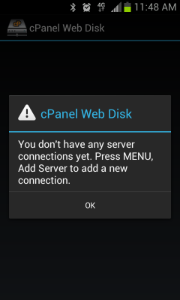
- On your Home screen, tap cPanel Web DIsk to run the app.
- When you open cPanel Web Disk for the first time, a window will appear which says that you do not have any servers configured. Tap OK.
- Tap Menu on your Android phone.
- Tap Add Server.
- Enter the following information:
- Name — A label for the connection to help you identify the site.
- Domain name — The domain that you wish to connect to with Web Disk.
- Select whether you wish to use an SSL or Non-SSL connection.
- Username — Your Web Disk username.
- Password — Your Web Disk account password.
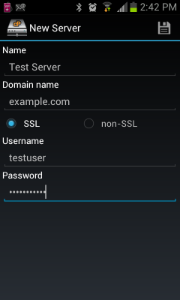
- Tap the disk icon
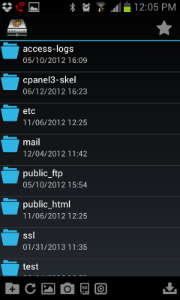
- In the server list, tap the newly-created connection. The Web Disk folder will appear.
Download cPanel Web Disk for iOS
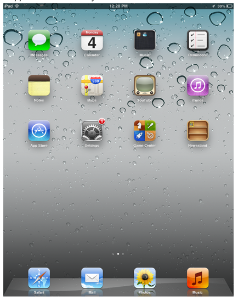
- On your Home screen, tap App Store.
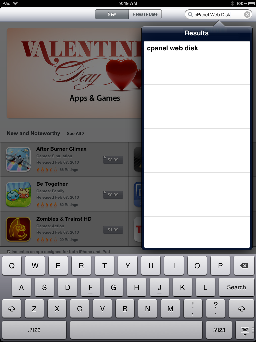
- In the search box, enter cPanel Web Disk.
- Tap GET for cPanel Web Disk, and then tap INSTALL.
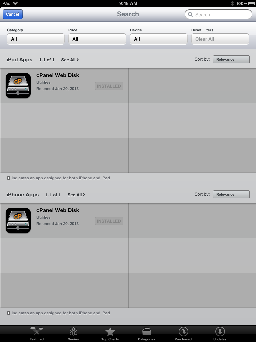
- Enter your iTunes Store password to complete the installation.