Difference between revisions of "Templates"
| (One intermediate revision by the same user not shown) | |||
| Line 1: | Line 1: | ||
[[Category:PushMail]] | [[Category:PushMail]] | ||
| − | The first time you | + | The first time you log in, you will not have any templates in the ‘Templates’ area. You can do one of three things: create your own template, upload a template created by another application or downloaded, or import it from the provided ‘Gallery’. |
| − | The email templates menu includes three | + | The email templates menu includes three submenus: |
== Categories == | == Categories == | ||
| − | You can categorize the email templates | + | You can categorize the email templates to make it easier to group and find them. |
[[File:Templates-Categories.png|center|frame|link=|Templates Categories]] | [[File:Templates-Categories.png|center|frame|link=|Templates Categories]] | ||
== Templates == | == Templates == | ||
| − | <p>On first use, this area is blank | + | <p>On first use, this area is blank. You can create templates for your campaigns or import previously created ones using the “Upload Template” button. Edit any template by clicking on the edit button, which opens the template in an editor. If you are familiar with HTML, you can click on the view source button to edit the template code. This requires some HTML knowledge. There are many HTML tutorials available online; a highly recommended one is [[https://www.w3schools.com/html/ W3Schools]].</p> |
| − | <p>You can | + | <p>You can also delete any template by clicking on the delete button.</p> |
| + | <p>You can send a test email while editing your template to see how it looks in a real email before starting your campaign.</p> | ||
[[File:templates.png|center|frame|link=|Email Templates]] | [[File:templates.png|center|frame|link=|Email Templates]] | ||
| Line 21: | Line 22: | ||
== Gallery == | == Gallery == | ||
| − | The gallery displays a list of ready-made templates for you to import and use. | + | The gallery displays a list of ready-made templates for you to import and use. Once imported, these templates can be modified for your custom use. To import a template, click on the “Import” button next to the desired template. |
[[File:create-template.png|center|frame|link=|Create New Template]] | [[File:create-template.png|center|frame|link=|Create New Template]] | ||
Latest revision as of 08:06, 23 July 2024
The first time you log in, you will not have any templates in the ‘Templates’ area. You can do one of three things: create your own template, upload a template created by another application or downloaded, or import it from the provided ‘Gallery’.
The email templates menu includes three submenus:
Categories
You can categorize the email templates to make it easier to group and find them.

Templates
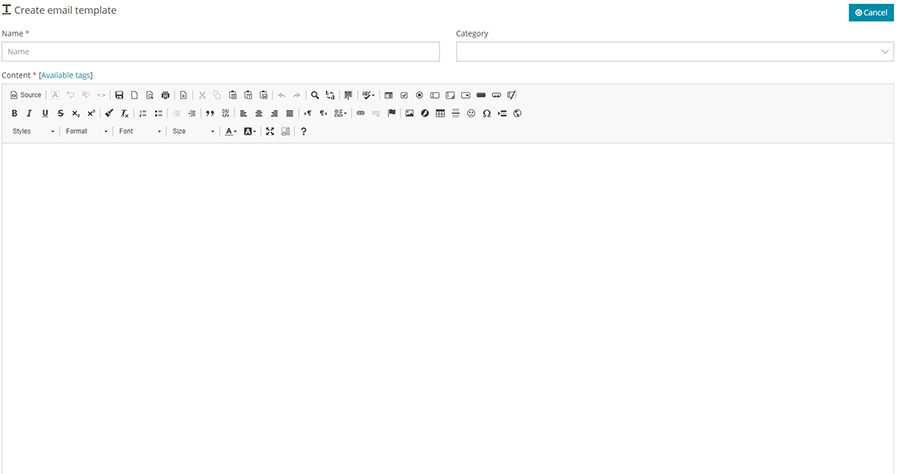
On first use, this area is blank. You can create templates for your campaigns or import previously created ones using the “Upload Template” button. Edit any template by clicking on the edit button, which opens the template in an editor. If you are familiar with HTML, you can click on the view source button to edit the template code. This requires some HTML knowledge. There are many HTML tutorials available online; a highly recommended one is [W3Schools].
You can also delete any template by clicking on the delete button.
You can send a test email while editing your template to see how it looks in a real email before starting your campaign.


Gallery
The gallery displays a list of ready-made templates for you to import and use. Once imported, these templates can be modified for your custom use. To import a template, click on the “Import” button next to the desired template.
