Template Modification Tutorial
In the following template modification tutorial, the CKeditor will be used in the image examples displayed. Most of the examples will show the ‘WYSIWYG’ display setting, not the ‘Source’ (HTML) setting. As stated in the manual, there are a number of html tutorials available online and one very popular recommended one is at [1] if you have a desire to learn some html coding.
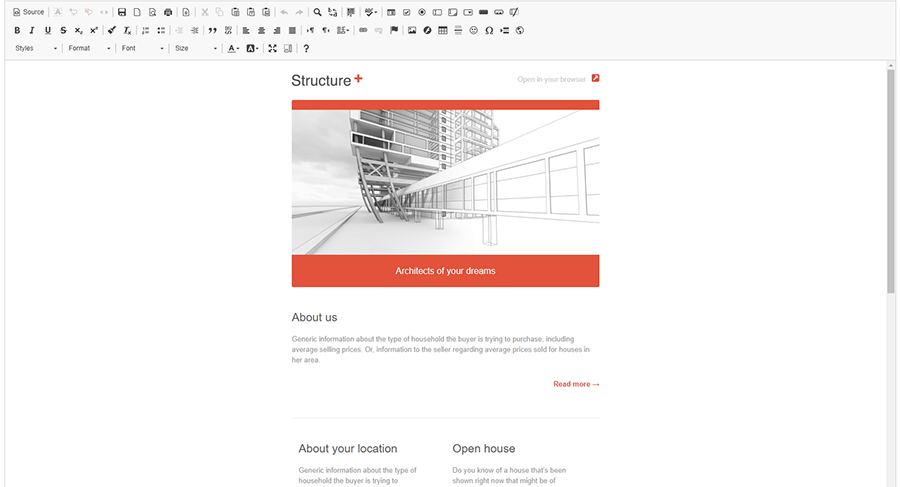
As a precursor, we will quickly show you the difference between the WYSIWYG display and the Source display. The WYSIWYG display visually shows the template as one receiving it by email or viewing it in a web browser:
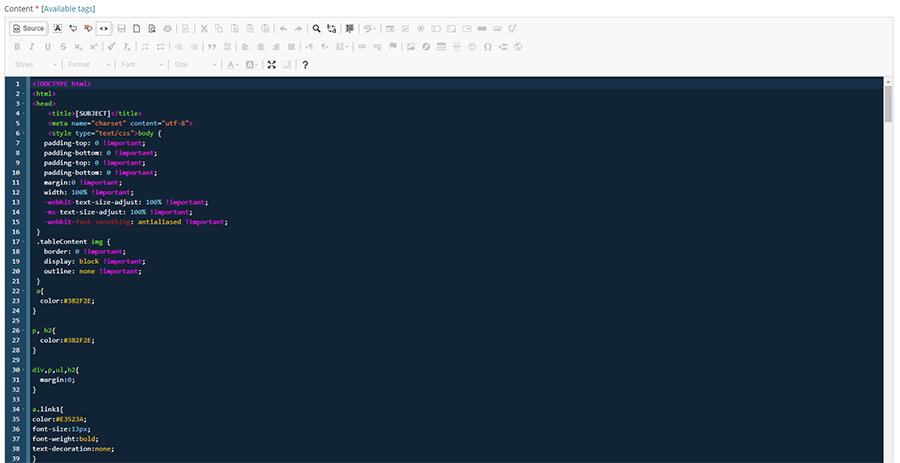
The Source display (by clicking on the ‘Source’ button in the upper left icon area) visually shows the template in the html coding behind the page. This coding normally includes tables, cells, image/website links, CSS styling and content text:
For the most part, this tutorial will discuss template modifications in the WYSISWYG display setting.
'''NOTE''' – the following modifications of a template can be done in either the Templates or Campaigns area. This wiki is two-fold, to show you how to modify templates and to show you why you would use one area or the other to make those modifications.<p>There are two reasons for modifying a template:
First, when you import a template into ‘Gallery’, you will want to make changes that you know will be used throughout all of your campaigns for that template. For example, a company logo that you will want displayed on every campaign. If you don’t make the change here, then every time you go to create a new campaign with the template, you will have to add the logo.

