Create FTP Account
Creating an FTP Account
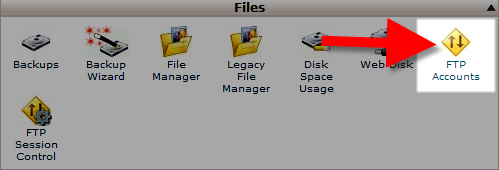
Step 1: Login to cPanel Step 2: Click the FTP Accounts button in the Files section.
Step 3: In the Add FTP Account section, fill in the fields as needed. Below is a brief description of the options.
| Option | Description |
|---|---|
| Login: | Enter the username you want to use; it will be combined with your primary domain name to create the full username. For example, if you enter joeuser in this field, the FTP Username will be: [email protected] |
| Password: | Enter a strong password in this field. Need help creating a secure password? Use the Password Generator button |
| Password (Again): | Enter the same password here, to confirm the spelling. |
| Strength: | This field tells you how secure your password is. Strength levels range from Very Weak to Very Strong |
| Directory: | When you create an FTP account, it is limited to the directory you set here. To give them full access to your file system, just enter a forward slash, like this: /
To give limited access to your website files to an FTP account, enter public_html. Or as you name the FTP account it will try to automatically restrict access to public_html/username |
| Quota: | You can limit the amount of space an FTP user can use here, or set them to Unlimited. |
Step 4: Click the Create FTP Account button. You will then see a message stating "Account Created"
Map an FTP drive
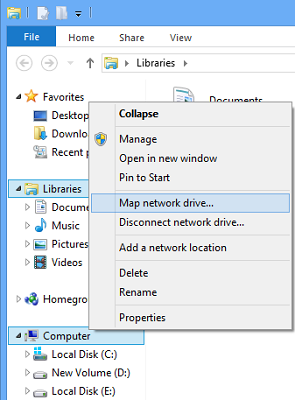
You can create or map a drive directly to your FTP site from within Windows. To do so, open File Explorer > Computer (This PC). Right-click and select Map Network Drive.
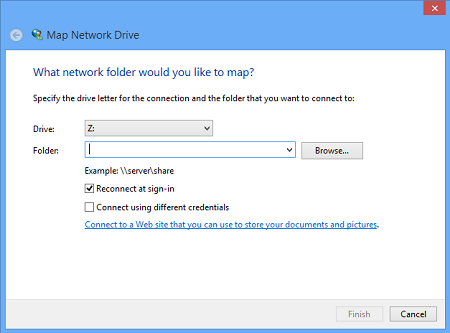
In the box which opens, type the ftp address or the path to your network drive or browse to it using the Browse button. Your folder Properties must be set to Shared in order to map it as a network drive. You will get the setting under Properties > Sharing tab > Advanced Sharing > Check the Share this folder option.
Check the Reconnect at sign-in option to make the mapping permanent. If you plan to use credentials from the networked computer to access the shared folder, check the Connect using different credentials option and click OK. You will asked to enter the username and password Next.
You will now have to enter the credentials for the user account, using the following format in the username name field so that your system knows which networked computer it is going to connect to – Computer\Username.
Once you have done this, you will be able to see it in Explorer.
Add Network Location
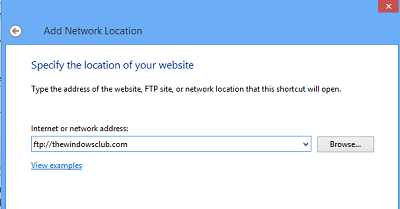
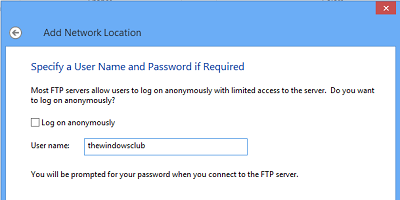
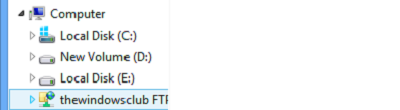
If you wish to add a Network Location, when you right-click on My PC (See first image), select Add a network location. From the Map FTP Drive box, you can also select the link at the bottom that reads, Connect to a website that you can use to store your documents and pictures. The Add Network Location wizard will open. Click Next and then Choose a custom network location. Click Next again. Now specify the Internet or network address or browser to the location. Click Next.
Uncheck Log for anonymously and give the username & password. Click on Next. Give a name to the networked location, when asked. Click Next again. Now select Open this network location when I click Finish.
You will be asked to enter your credentials, and once you do so, you will be connected to your network drive or your FTP drive or your website.
This is quite useful if you need to connect your computers together for sharing files, store files online or run a website.
If you want, you can also download and use one of these free FTP Clients for your Windows PC. We recommend CoreFTP